Disclaimer: Nothing in this post is intended to be taken as a how-to instruction. Working with gas can be very dangerous and possibly illegal in some locations without a license or permit. Use common sense and know your laws. Once again, this post is NOT an instruction on how to perform your own gas work, but merely a documentation of my own personal experience. The writer is not responsible or liable for any damage or injury/death that may result from the information contained in the post.
Alright. Now that all the legal do’s and don’ts are out of the way, I can begin. We recently bought some new appliances and decided to change out our electric range for a gas one. That way we can still cook during an emergency where we lose power, such as a tornado, ice storm, or bigger more long-term disaster. Regardless of the disaster our 500 gallon propane tank should last us for at least a little while. The only problem is there is not a gas outlet behind the range. So I crawled underneath the house, as I stated in a previous post I have a pier and beam foundation, and took a look at where the gas line was. Lucky for me it comes into the house and runs directly underneath the kitchen. Even better there is was an existing tee in the line that was not being used. It had at one time provided gas to the fireplace but when the previous owner installed the wood burning stove insert they cut and capped the gas line coming off the tee. So after taking a few measurement I headed off to Lowe’s.

The capped T that once led to the fireplace.
One point of concern for me was the diameter of the gas line coming off the tee was only 1/2 inch. The diameter of a gas line, in conjunction with how long the line is, and how many fittings are used affects the amount of BTU’s that can flow through the line. After a few Google searches, I used this PDF for my calculations. For each connection I added 5 feet to the total length since that is a good average for how much each connection restricts the flow. This gave me a max carrying capacity of around 150,000 BTU’s, more than enough for my 90,000 BTU range.
From the store I bought several pieces of 1/2 inch black iron pipe which is threaded and used for gas. It was important to buy a variety of lengths since the pipes would have to be threaded together in some combination to get the correct overall length. I also bought a bunch of 90 degree fittings, couplers, plugs, and what is known as a cross or X fitting. To install the actual gas outlet behind the range I bought a gas ball valve. These are special valves designed specifically for gas. Then I picked up the flexible corrugated stainless steel tubing used to attach the appliance to the gas outlet. Lastly, I made sure to grab a can of plumbing thread paste with Teflon in it. Many times the can will not say Teflon but rather PTFE which is the abbreviation for the scientific name for Teflon.This paste is very important as it is what seals the threads and prevents leaks. The only other tools I would need for this project which I already had was two pipe wrenches, a drill with a 1 inch paddle bit, and a wire brush.
To start the project I turned off the gas at the tank and the main valve at the house. Then I closed the valve on the water heater and central heat (essentially everything that uses gas). Taking all my supplies and tools, I crawled under the house and began laying out the various lengths of pipe to get the correct overall length for my run. In the places where I had to go through a floor joist I used the 1 inch paddle bit and drill to make a hole. To assemble the gas line, first I cleaned all the pipe threads very thoroughly with the wire brush to remove any dirt or rust.
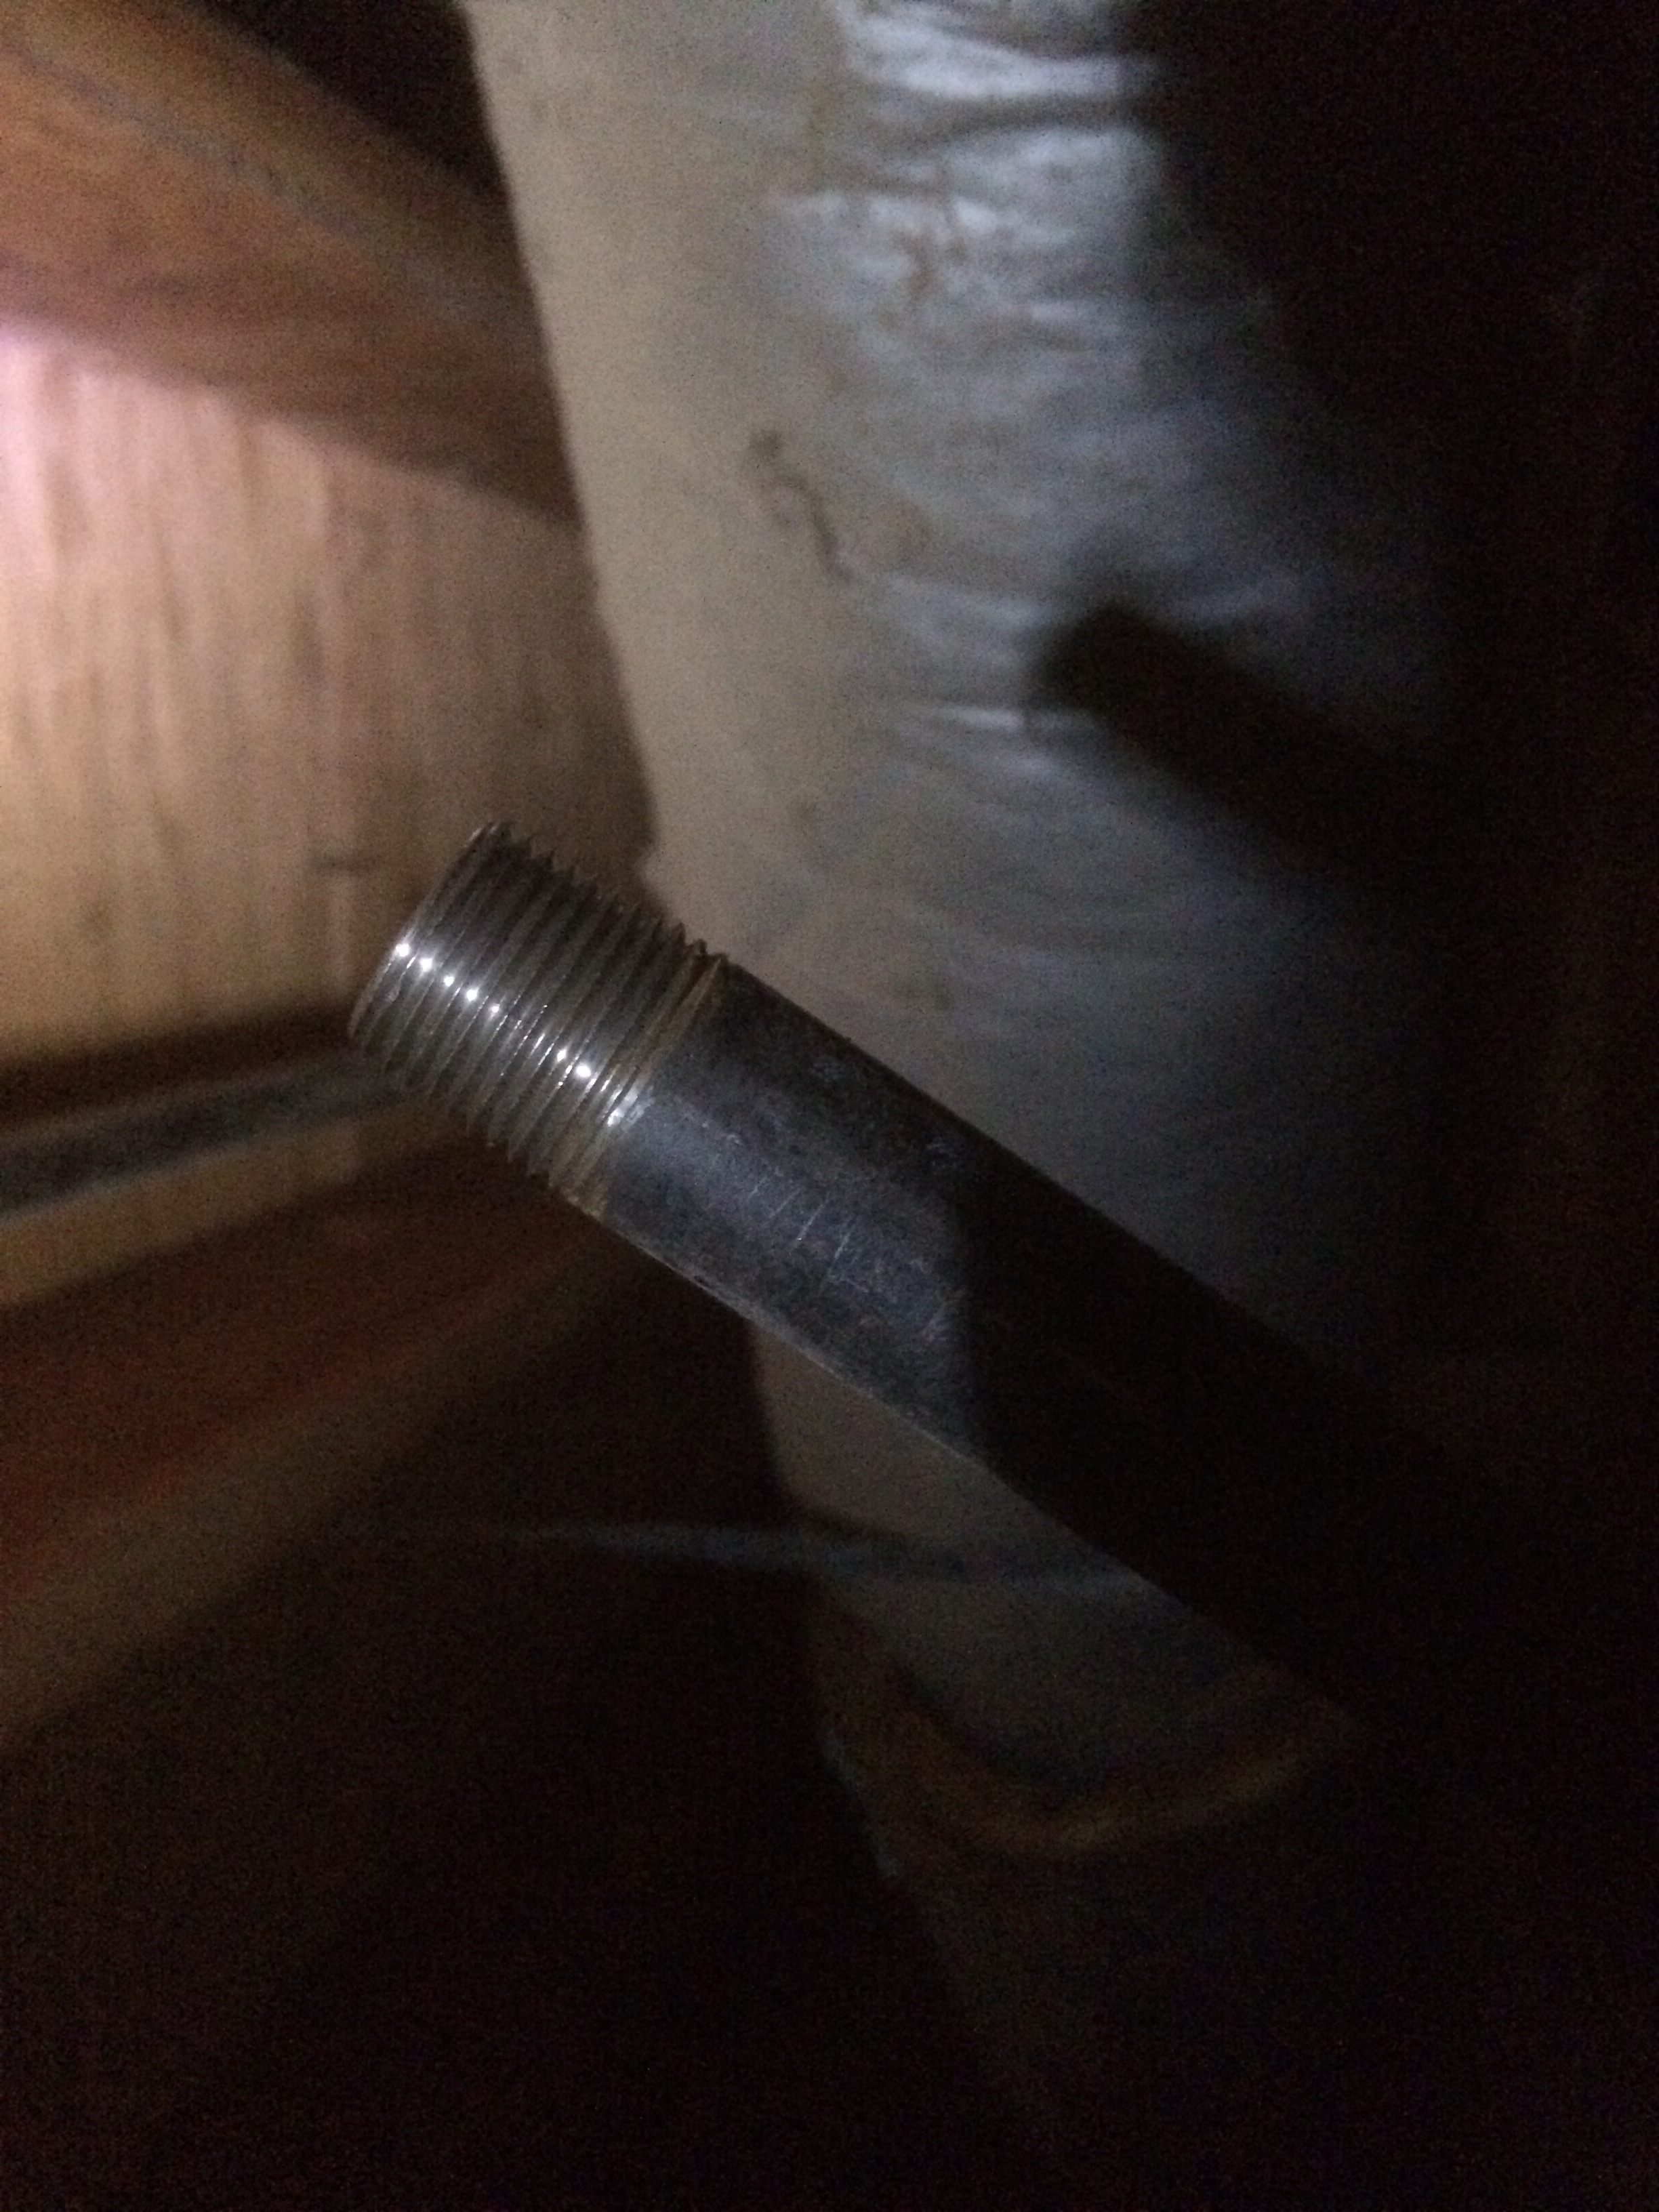
Clean shiny threads are necessary for a good connection.
Then I added a liberal amount of pipe dope all around the male threads which are the pipe. After that all I had to do was screw the pipe with the pipe dope on it into a fitting and tighten it up with the pipe wrenches. I continued the process all the way over to where I had to bring the pipe up through the floor and drilled another hole with my paddle bit. When I had the pipe sticking up behind the cabinet, I screwed on the gas ball valve. Then I attached the stainless steel gas line to the ball valve so that I could hook it up to the range when I got it in.

Adding the pipe dope to the threads.

Now here comes the important step, leak check time. I mixed up about 5 squirts of dish soap in a spray bottle with water. After turning back on the gas, I went around to every fitting on the gas line and sprayed it with the soap mixture looking for bubbles. So long as there are no bubbles, there is not a leak. Of course my nose also helps in detecting any gas smells. I decided to check all the fittings on the gas pipe, both new and old, just in case my messing with the gas line caused a leak in an old section of the pipe.
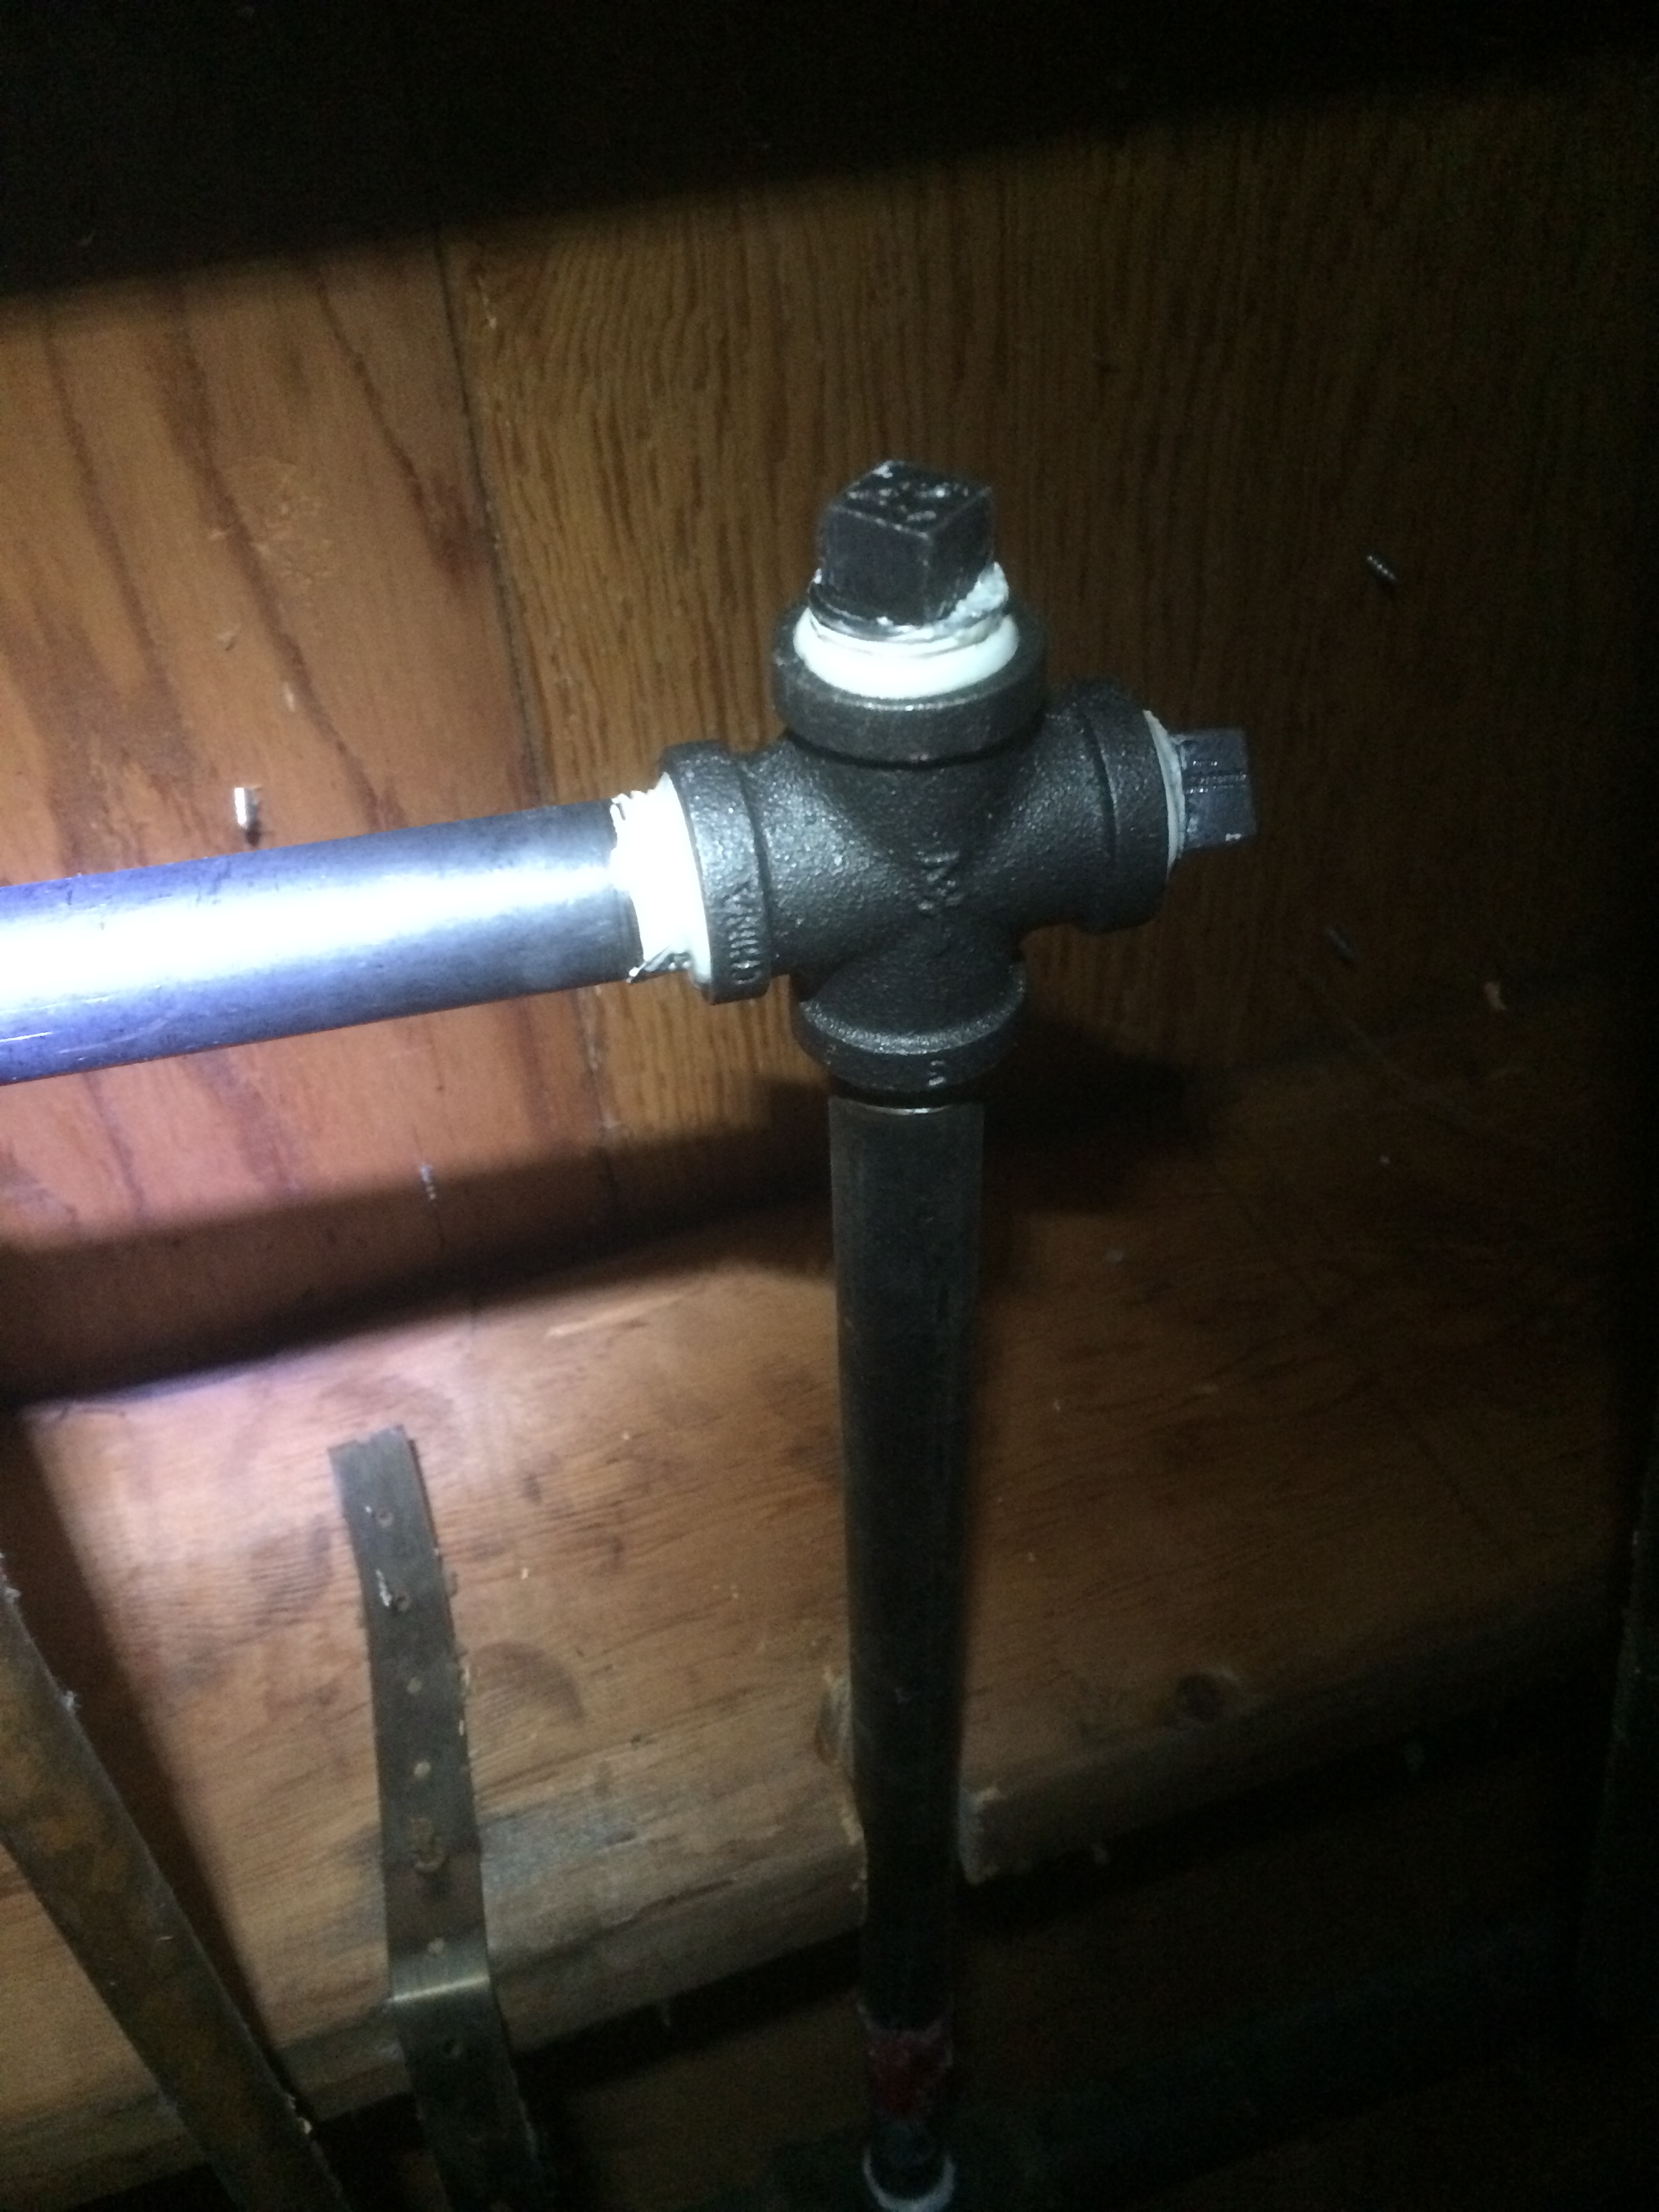
I used a half-inch cross and capped two ports so that more gas lines could be installed at a later date.
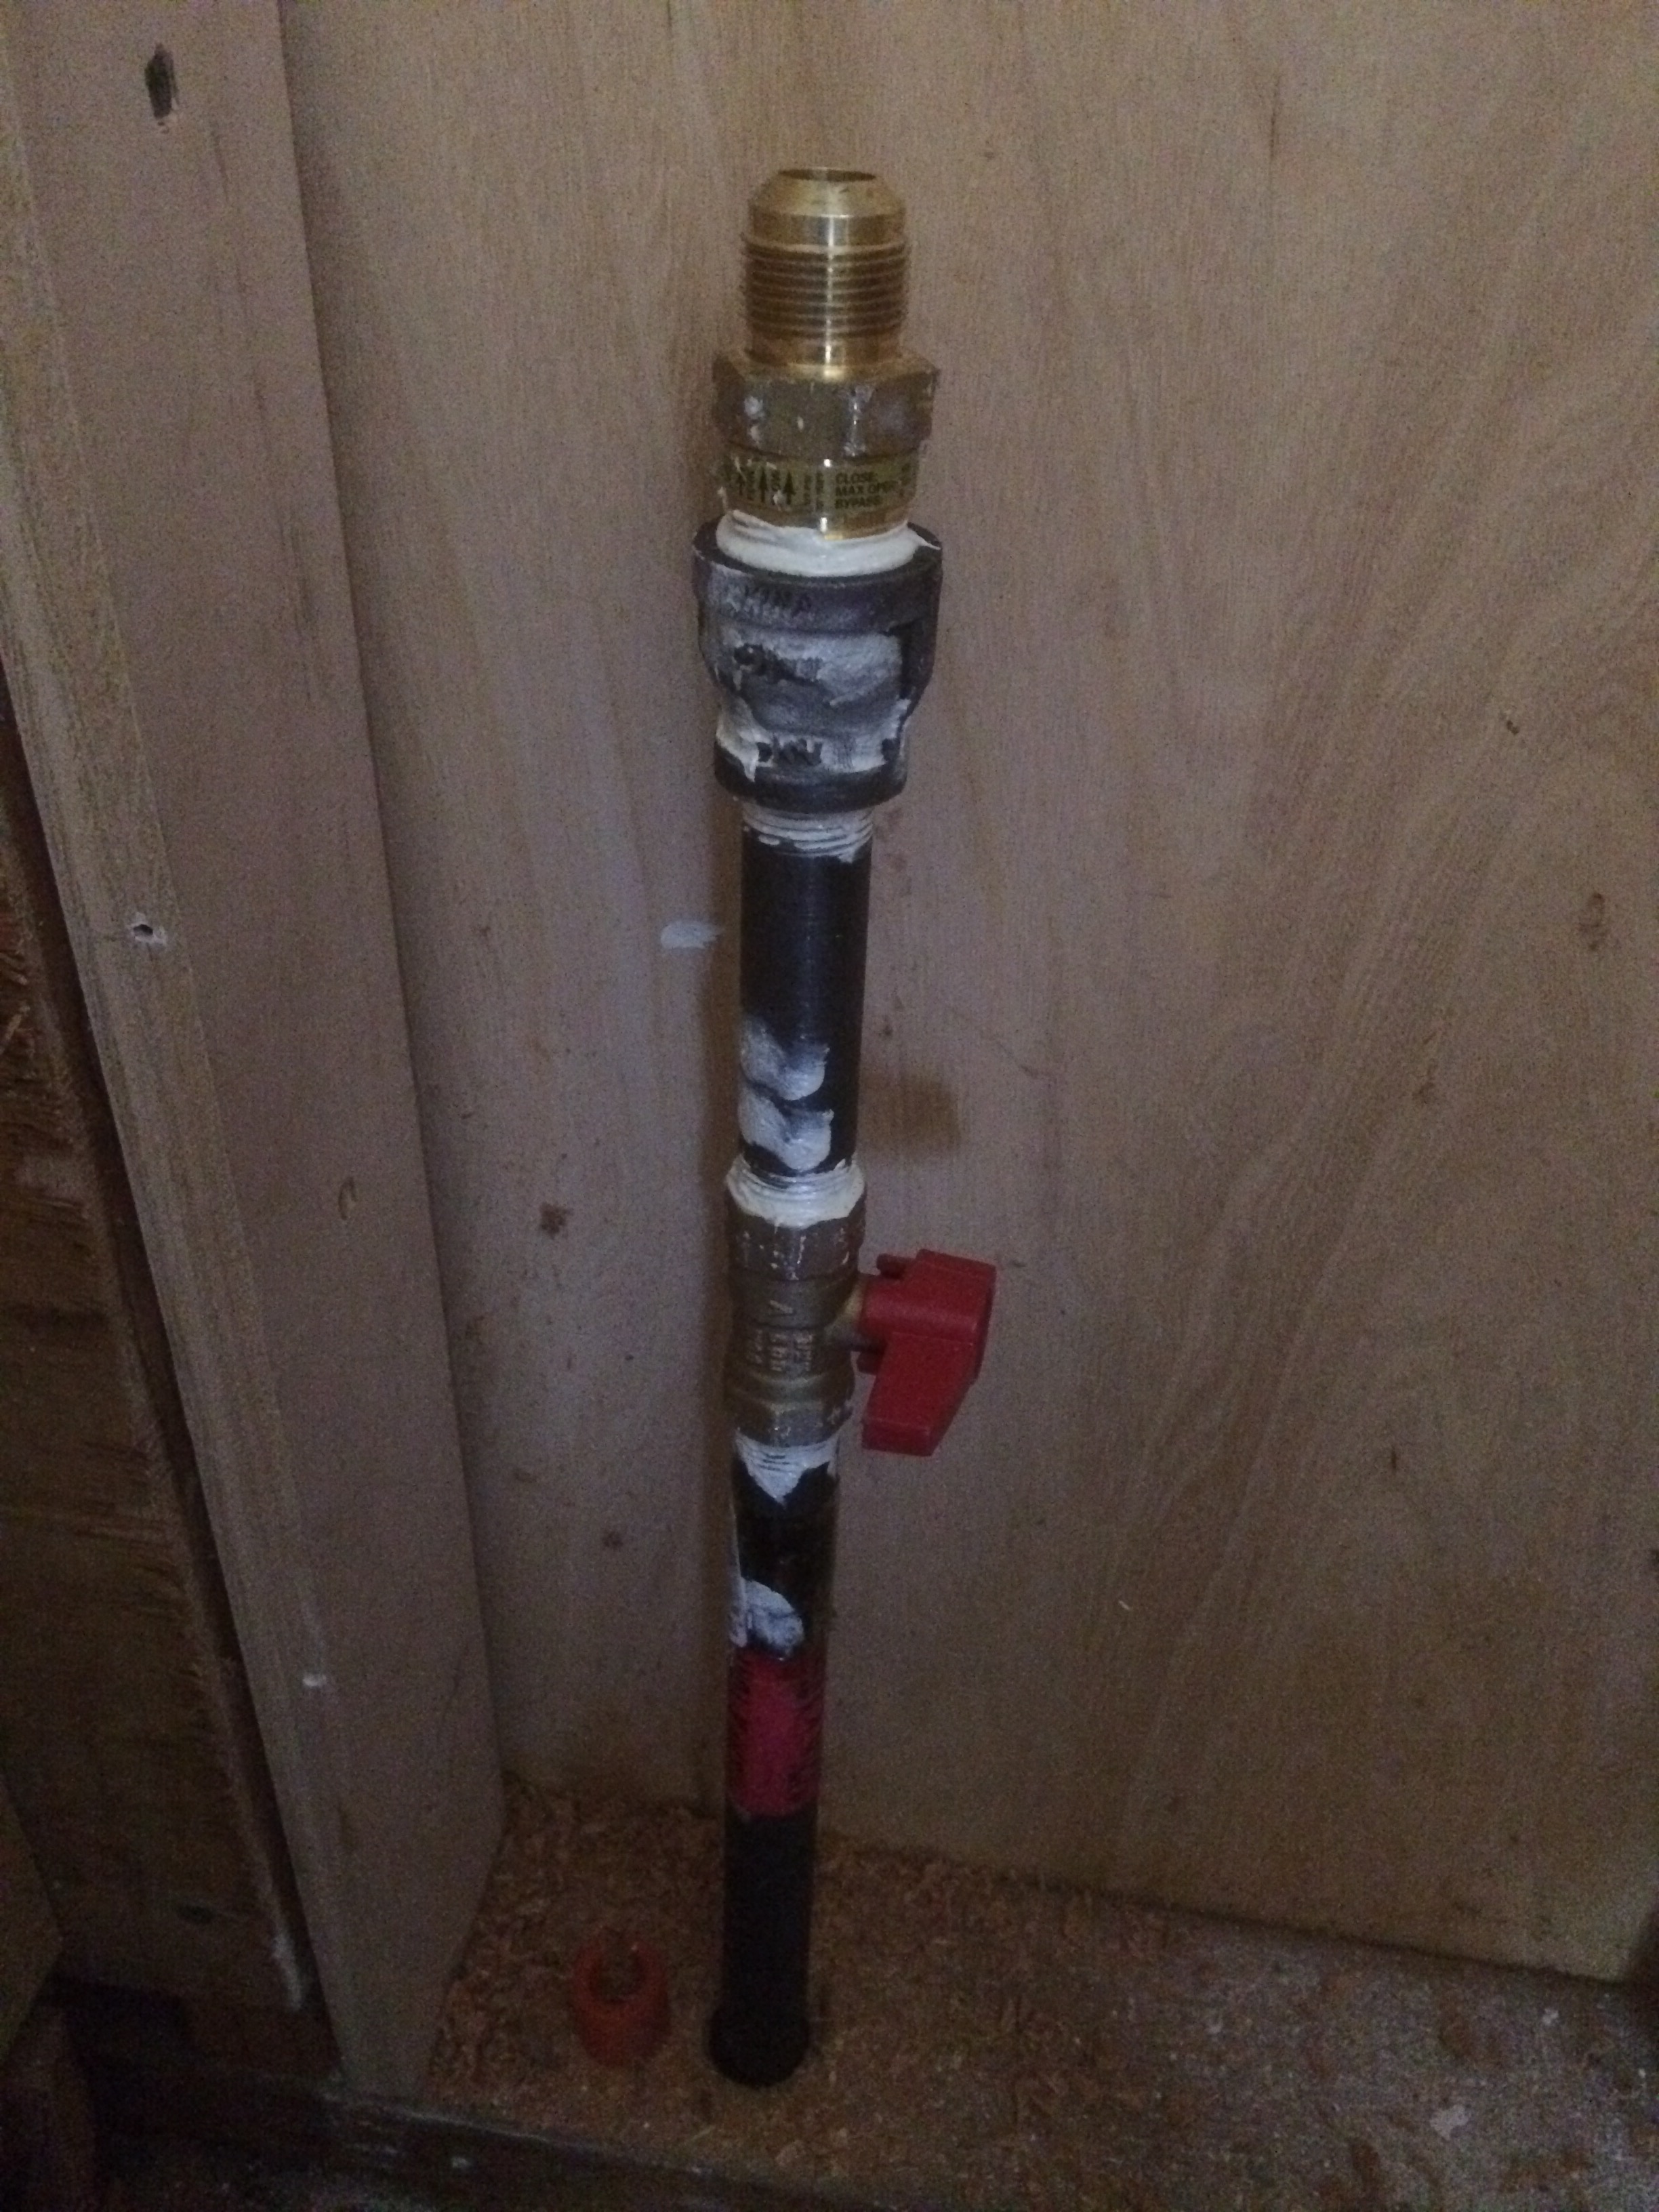
The ball valve before adding the stainless steel corrugated line.

Leak check with a dish soap and water mixture.
After I got the new appliances delivered, I hooked up the range and leak tested all of those fittings after the ball valve. Everything looked good and so I slid the range back into place. It has been really nice to cook on gas and very reassuring to me that we can still cook if we were to ever lose power out here in the country. Remember, gas is dangerous. Hope you have learned something, enjoy.

The gas range with the burners all lit.
-Dale
